Showing posts with label Cooking Technique. Show all posts

Monday, December 2, 2024

DRY BRINED AND OVEN ROASTED TURKEY 2024

Since we started doing this, we don't do it any other way.  It's the most amazing turkey every single time.  After the picture yesterday, several of you emailed to ask how we got it so perfect looking.

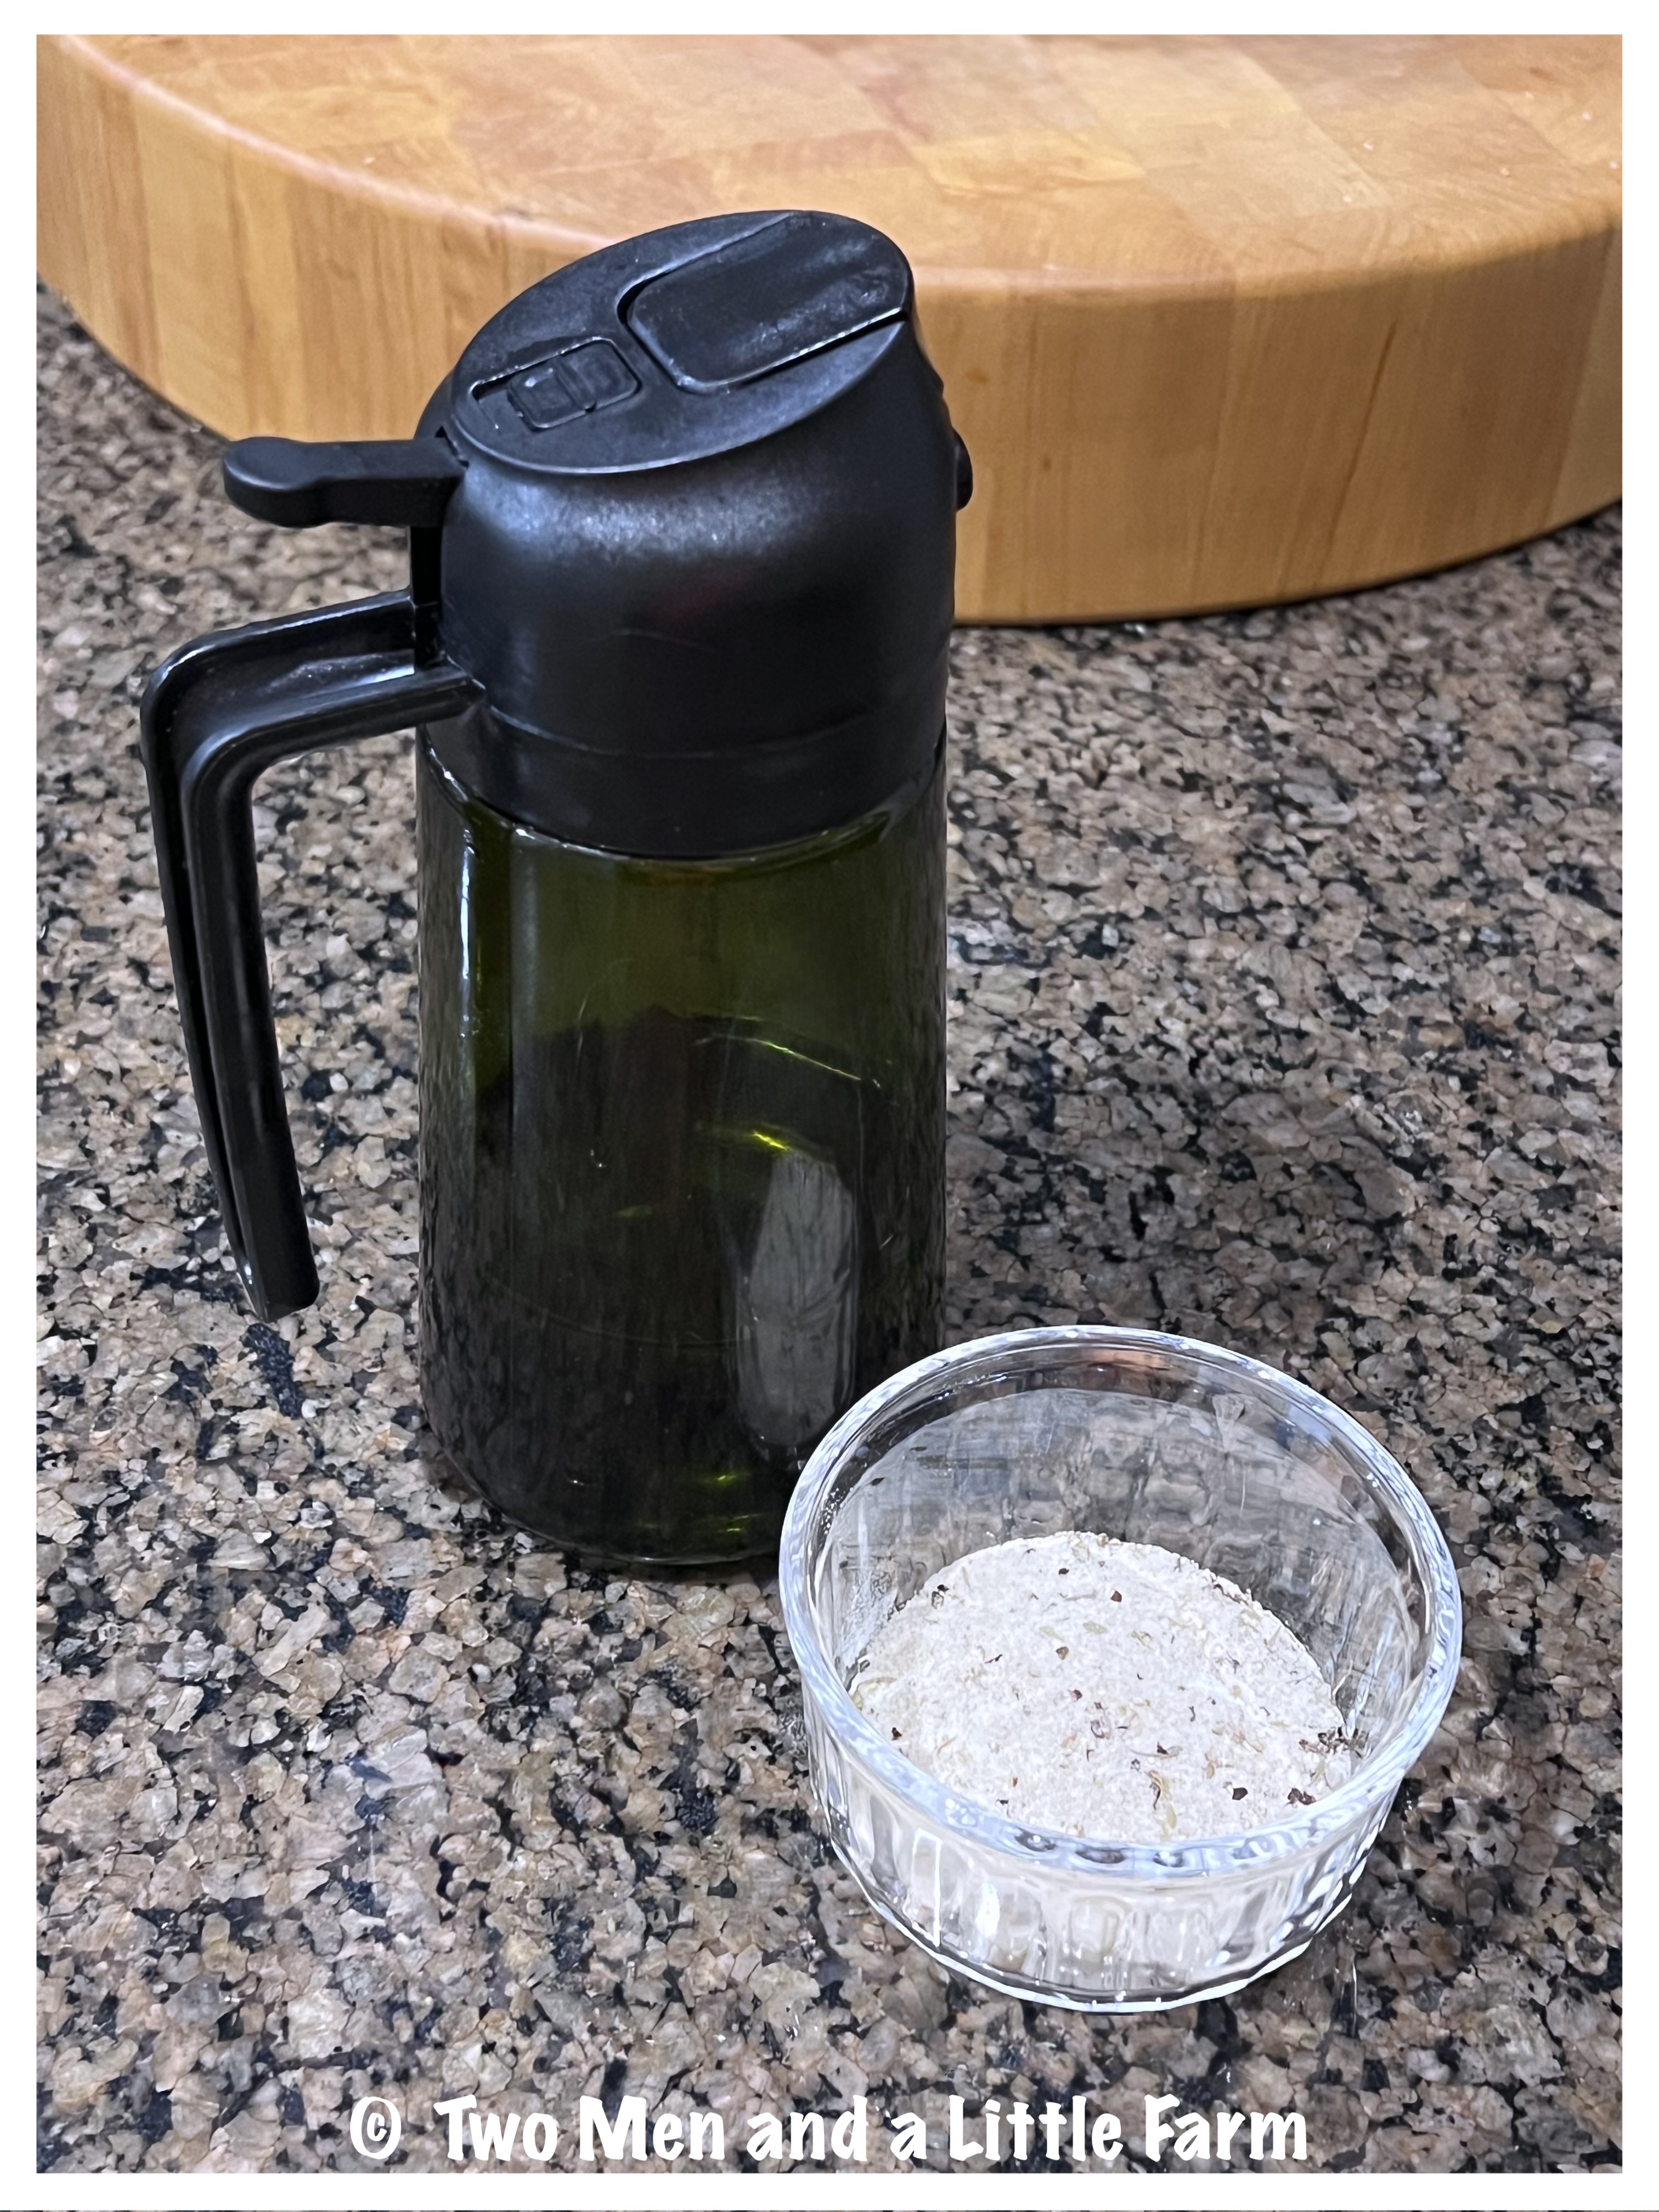
This year we used olive oil.  We have this new dispenser device that we LOVE.  It pours or sprays in a mist, no aerosol can needed.  Then we have some seasonings that 2nd Man puts together (it's a work in progress, who knows, we might sell it at some point) a blend of salt and seasonings that we call our farmhouse blend.

We rub the turkey (fresh, not frozen) all over (and under the skin) with olive oil.  It's a heart healthy oil as opposed to butter or duck fat which we have used in the past.  Then we do the same with the seasonings.  You can use any that you like of course, it's all about taste.

Here is a series of progress pictures.  We put it in the fridge just like this.

Day one...


Day two...


Day three...

The skin has almost melded to the meat and has become translucent.  We bring it to room temperature.


Then we just put in the oven at 425 degrees, bottom rack, and roast for one hour.  This was a 13.5 lb turkey.


It comes out amazingly well and it only takes one hour and it's done!

We said next year when we're living in the new house, we might do two at the same time (oops, did I give something away?) Golden, juicy, crispy skin, and just delicious.  Two days later, it was still moist and juicy when we reheated it.  It's crazy good and super easy!

Speaking of new house, tomorrow, the pantry!

Monday, June 12, 2023

HOW TO MAKE AUTHENTIC PORK CARNITAS

Pork carnitas.  A Mexican classic that is so good and yes, you can make them yourself.  Traditional carnitas are made this way, fried in a kettle in lard.  There are others made in the oven and basted over and over (we've done that and they are good) and some are cooked in a crock pot and other are pan friend in oil.  We've done them that way too but this is the most authentic way (short of outside in copper over a fire!).

Pork carnitas
There are not many ingredients, but again you will be frying these in lard.  You can use other oils but because you are adding liquids and odd ingredients, you could burn yourself or cause a big mess in your kitchen if you try this with regular oil (look online for those versions if you'd rather try it that way, they are out there).

Lard doesn't react to having coke and orange juice being poured in as other oil might.  It is sold in stores right next to the other oils.  We get the Morrell Snow Cap brand and before you think lard means greasy, if you do these right, not greasy at all.

But again, if you'd rather not use lard, just look for some recipes that use oil.

Carnitas ingredients
Believe it or not, these are all the ingredients.

 5 lb pork shoulder butt
3 medium oranges cut in half and 1/2 cup of the juice
3 bay leaves
6 garlic cloves
1 8oz bottle/can Coca Cola
1 can evaporated milk
3 or 4 lbs of lard

Ours was bone in and about 8 lbs total, but the bone is part of that.  We probably ended up with about 5 lbs of meat after deboning. 
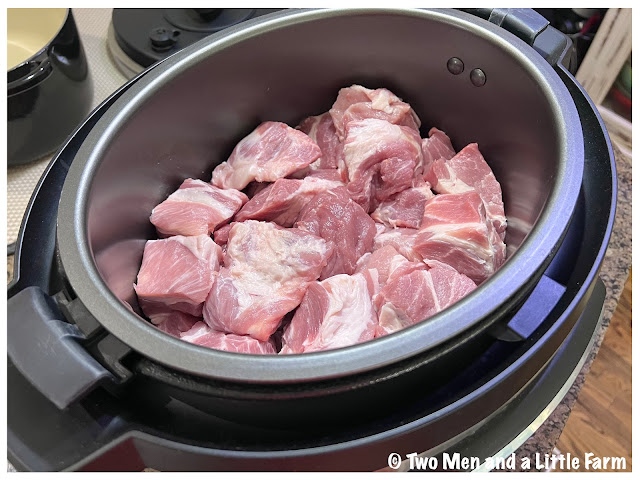
Pork in pressure cooker
 Now this is a step we do to make the cooking time a bit shorter and make them fall apart tender.  We take the meat off the bone (unless you have boneless) and cut into about 3 inch size chunks.  Add 1/2 cup water and salt to taste and pressure cook on high for 30 minutes.
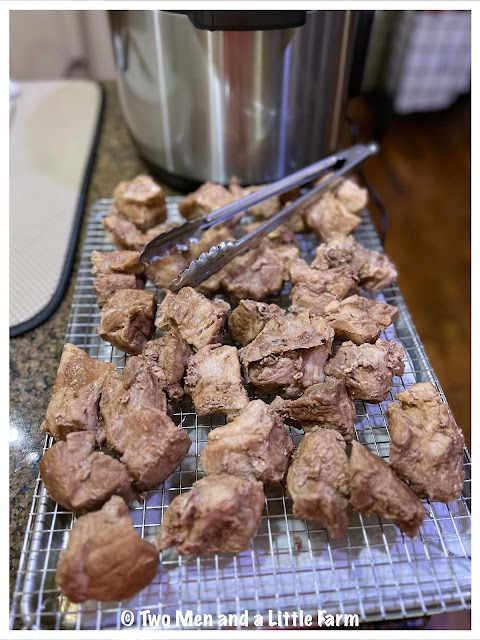
Carnitas precooked
This is what it all looks like after the 30 minutes of pressure cooking.  Falling apart tender.
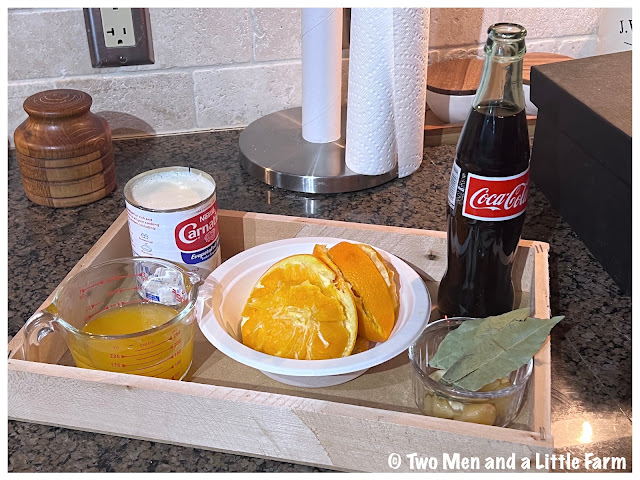
Prepping carnitas ingredients
While the pressure cooking is going on (if you choose that option), it's a good time to melt the lard in a large dutch oven or other heavy pot/cast iron.  Go ahead and open the coke, the can of evaporated milk, cut the oranges in half and squeeze out the juice of them until you get about 1/2 a cup of orange juice and have everything ready to go.
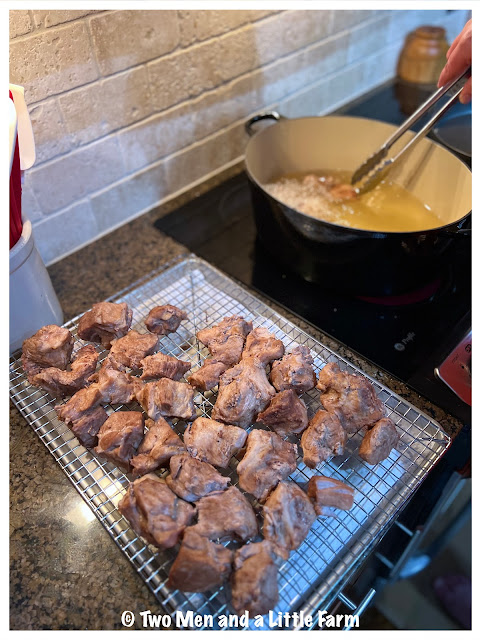
Frying carnitas
When it has reached 350 degrees, place the chunks of pork in.  Be careful, hot oil!
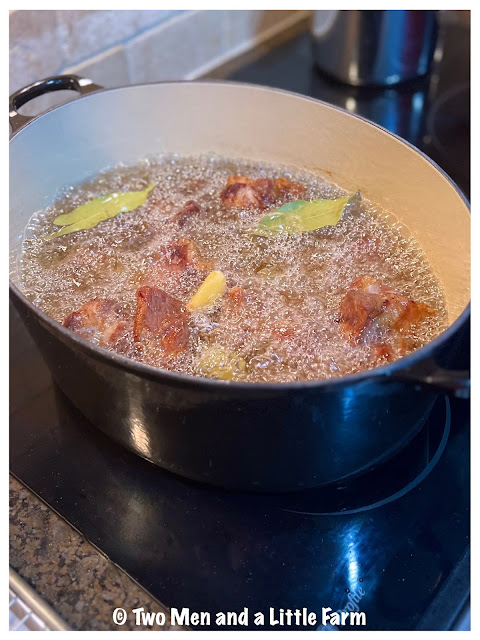
Carnitas
Next drop in the bay leaves and garlic cloves.
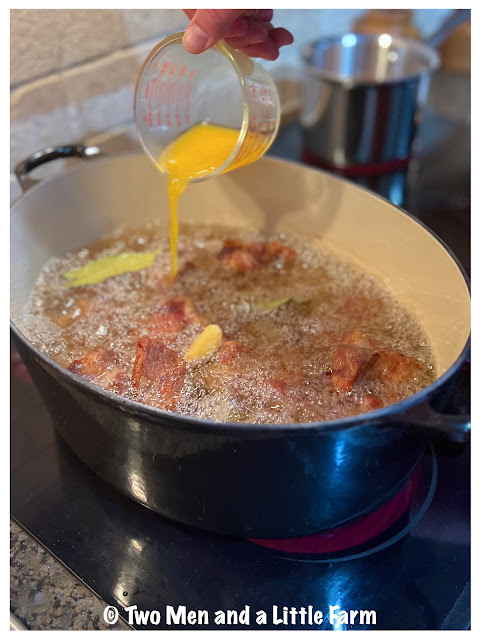
Orange juice in carnitas
Pour in the orange juice.

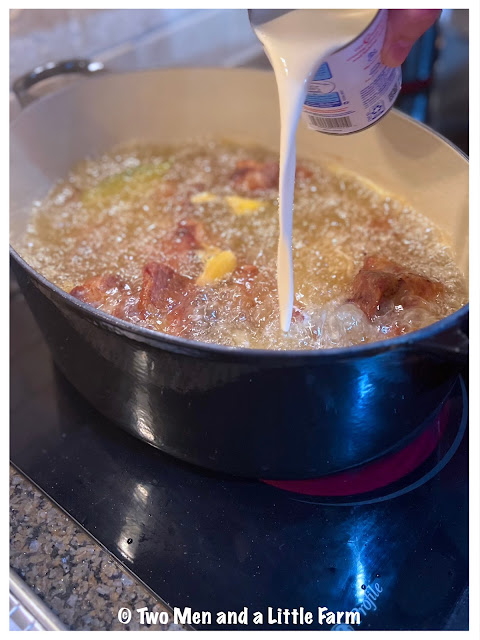
Evaporated milk in carnitas
Pour in the evaporated milk.

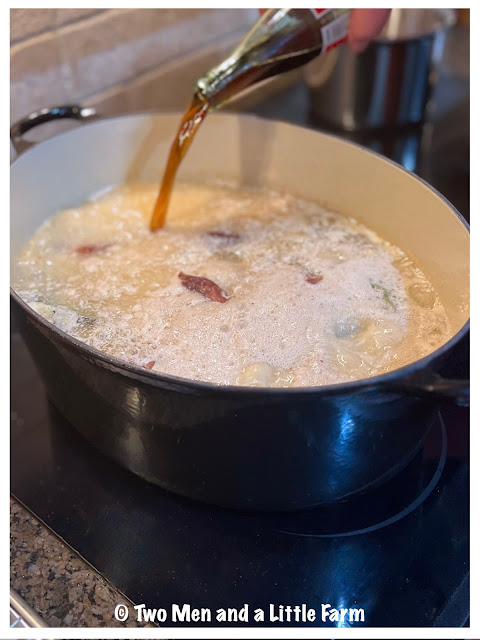
Coke cola in carnitas
Pour in the Coke.

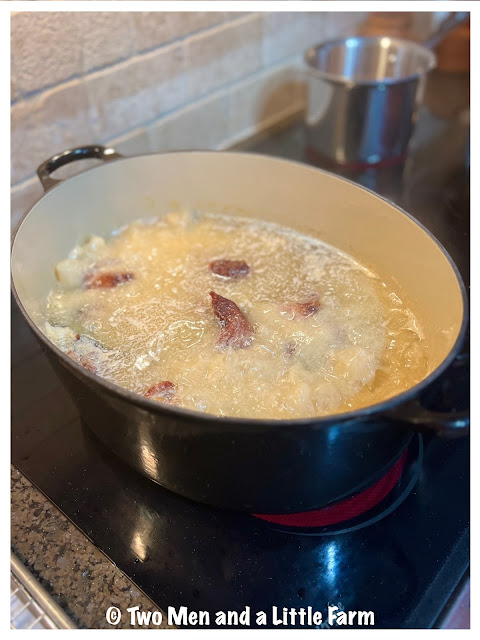
Carnitas boiling in lard
This is what it will look like.

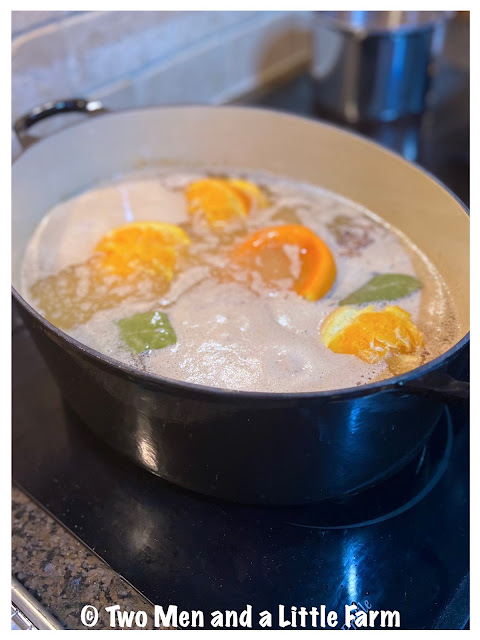
Frying carnitas
Finally add the chunks of orange (yep, more flavor).  Keep the temp around 250 (the added liquids will of course cool it down) but you don't want it back up at 350, now you want it to be somewhat low and slow and for about 30 minutes it will look like this, foaming and not clear.  Regularly move the pork around so it doesn't stick to the bottom (it will if you're not careful).
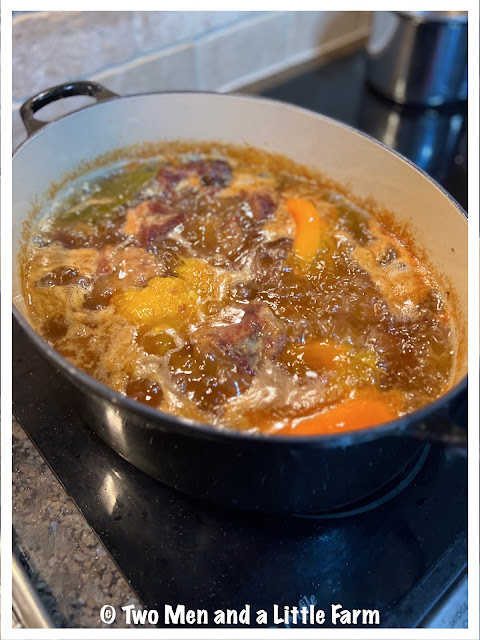
Frying carnitas
After about 30 minutes, it just clears up and looks like this!  Let it go for about 10 to 15 more minutes, still moving the pork around to make sure it's browning nicely.  The meat is cooked but you just want to get it to the point you like it, you want the exterior bits to be crispy and then super tender on the inside. 

Cooking carnitas
Fish out the oranges and bay leaves (the garlic has mostly dissolved), and then there will be little bits of pork that are floating around or in the bottom... by the way, these little bits are REALLY good, ha. 
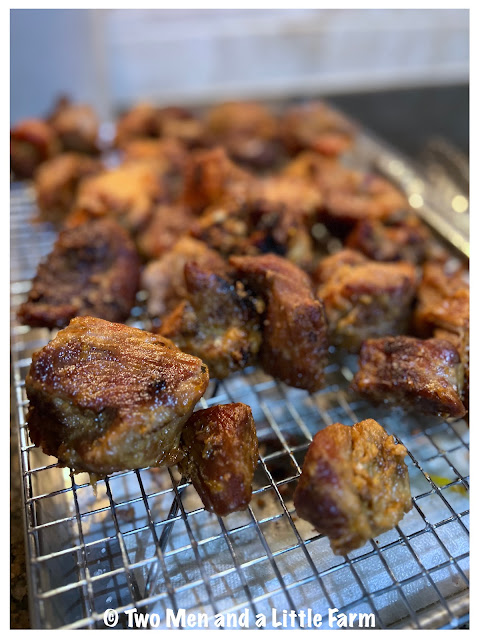
Mexican pork carnitas
This is what they look like.

Put them on a rack while you get everything else ready.  We sprinkle a little salt on them at this point.  They don't get greasy, you are essentially braising them in the lard, not frying them.
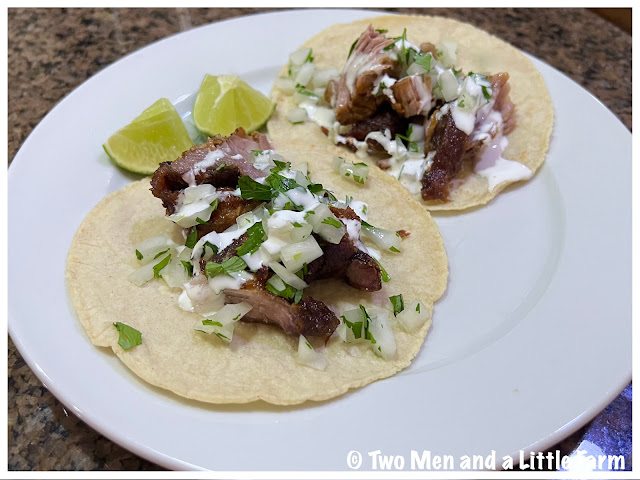
Carnitas tacos
They are served simply.  We chop up an onion, add cilantro, a squeeze of lime and some sour cream (we like Mexican Crema).  You can of course eat them on a plate just like you would chunks of meat with appropriate sides like rice and beans.
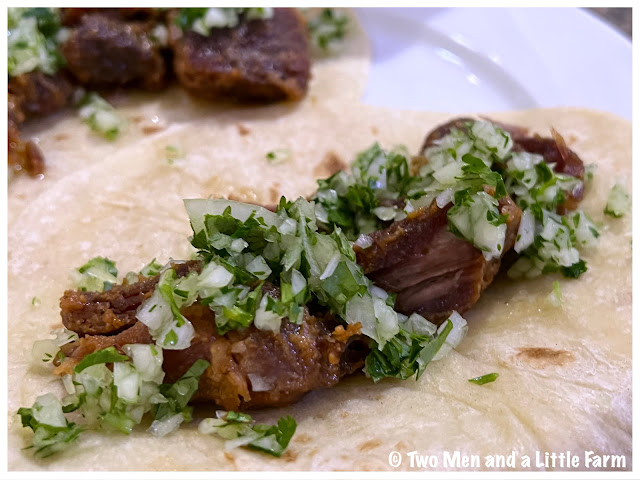
Carnitas tacos with flour tortillas
Carnitas tacos can be on flour tortillas (my favorite)...

Carnitas tacos with corn tortillas
Or corn tortillas (2nd Man's favorite)...

If you are not wanting to use lard, as we said there are other methods online, even oven cooked, whichever way you do them, try pork carnitas, they are SO good.

Monday, March 6, 2023

CHICKEN SOUP FOR THE SOUL FOUR WAYS

Not too long ago, 2nd Man made a huge pot of chicken soup and vegetables.  He used two whole chickens and lots of vegetables.  We love chicken soup because we can be so flexible as to what we put in it.

Chicken soup cooking

This big batch was made up of chicken and onions, carrots, celery, zucchini, yellow squash and this time, we added some corn (2 cobs cut into fourths) and some kale because we had it on hand.

Chicken soup

On the first night, we eat it as good old chicken soup and eat up all the corn that we put in it.  Then we keep the leftovers and each night, we only take out enough for what we are serving each of us.

Matzo ball soup

On the second night, he made matzo balls (his first ever attempt and they were good) and served them by filling bowls with more broth and fewer vegetables.

Chicken noodle soup

On the third night, we cooked a pot of egg noodles and then added them to our dished up portions and had a wonderful chicken noodle soup...

Cream of chicken soup

And finally on the last night with the last of the leftovers, he added cream and some seasonings (a little turmeric gives it this wonderful color and warmth) and had 'cream of chicken' kind of soup, finishing it all off.

Each night is just different enough that we don't get tired of it.  It's not really like having the same thing every night and getting tired of it.  It's a great way to make a big meal on a weekend and change it up for a few more meals.  In the end, it's also pretty inexpensive for all the great meals we get.

Anyone else do anything like this multiple different leftovers from one big dish?

Monday, February 20, 2023

OUR INDIAN SPICE BOX MASALA DABBA

A few years back, I got this for 2nd Man's birthday.  We had seen similar containers on cooking shows and food documentaries and I decided he needed one for his own culinary adventures.  When using it the other day and then refilling it, I realized I never put up a post about it.


They are officially called "Masala Dabba".  An Indian "spice box".  They come in ceramic and wood but as those can have a tendency to absorb aromas so the more common ones are stainless steel.  There are many styles, square, round, boxes inside or bowls, etc.

I searched high and low and finally found this one.  I loved the design and style with the pattern on top, it was pretty enough to leave out on the counter.

Here are some different varieties, there are some really pretty ones out there for sure:


The design on top is unique and distinctive.  It's glass with this pattern printed on it.  This outer lid is tight to provide an airtight seal.


When you remove that, there is another inner lid with a knob handle that sits on top of the containers and because it's flush with the tops, it helps keep the aromas in each and the spices fresh.


Then you have access to your wonderful spices.


Not too long ago, you may remember that we went to Penzey's spice store and that's when we restocked the ones we were running low on.


I printed labels to put on each one.  While some might be identifiable by aroma and/or color, we like having labels so we know for sure.  From what we've read, each family's box is often unique to them with the special ingredients they use for their signature dishes.  There is certainly no reason you couldn't put any seasoning in one if you were so inclined.

Our box contains:

Coriander
Balti
Tandoori
Sate
Curry
Cardamon
Vindaloo


One thing for sure, it's gorgeous when filled!

Tuesday, June 14, 2022

FREEZING FRESH PEACHES

So here is the part two of putting up the peaches we got from a coworker.  Click HERE to see the post.

Ripe peaches
We wish you could smell these, there is nothing like the scent of ripe peaches.  The bag trick worked great, they were soft and ripe and when I sliced them and gave them a quick twist, they just came apart.

Peach halves with pit
I cut them all into sections.  We left the skin on because we are OK with skin on peaches.  Some people will blanch them and peel but we are fine with it on, in a cobbler or pie or smoothie, they will just cook/blend in.

Peach slices on tray
I put the slices on a sheet pan lined with parchment to keep them from sticking to the pan and then...

Peach slices in the freezer
...I popped them into the freezer overnight.  This freezes them individually.

Frozen peach slices
Here they are 24 hours later, each slice is frozen solid.  I picked up the parchment and they all fell off.  I poured them all into a freezer bag...

Vacuum sealed frozen peaches
...and vacuum sealed them.  Being individually frozen like this means when they pull together in the bag from the vacuum sealing process, they won't smash together and end up as peach pulp.  When we use them in a recipe, they'll still be nice, intact peach slices.

We ended up with about 4 cups in total (they were smallish peaches) but that should be just enough for a nice peach cobbler in the middle of Winter when we are craving the taste of Summer! If they still have some the next time she goes out, she will bring us some more.

We can't wait to have our own peaches someday but for now, this is good practice.  Now, we just need to work on a good cobbler recipe, ha. 


Wednesday, March 23, 2022

PITMASTERS CHOICE FOIL TO KEEP YOUR SHEET PANS CLEAN

Occasionally, we like to share tips and things that we use that we've found we like.  This post comes from someone emailing us asking how we keep our sheet pans so clean when we use them so much.  When I said we cover them with foil, they said it must be strong foil.

In way, it is.

This is what we use for big things messy things: 


It's the "PITMASTER'S CHOICE" super strength foil.


Made by Reynolds Wrap of course.  Now there are other brands of course and they might call it something else, "super strength" or "BBQ foil" etc.  It's just not "heavy duty".  They make that too but "heavy duty" is not this stuff.  It's a bit more expensive of course but one thing that makes it worth it is the size.  This is much wider.


So wide that one sheet covers a full size sheet pan.  Speaking of, here's a tip to help fit a large piece of foil on a sheet pan.  Turn it upside down, shape the foil around the pan (as above)...


...then turn the pan upright and the foil fits right inside.  We use this foil for the turkey last Thanksgiving and put some parchment on top of the foil.


Here's the turkey sheet pan after removing the turkey that we roasted.


Here's a large full size sheet pan that had two meatloaves on it.  We removed them...


We carefully folded it up and removed it...


Voila!

Sheet pan is clean as a whistle and can go right back in the cabinet. 

We use this for messy things that might cause a burnt on sticky mess.  If we're doing cookies, we'll use parchment only.  Other things we'll use a Silpat (silicone mat).  He just likes to keep his sheet pans looking nice.  

Believe it or not, these pans are about twelve years old now!